Facebook is in constant flux. The product and features therein are always evolving, and so must the ways in which marketers and advertisers utilize the platform for business.
In the face of declining organic reach and increased paid ads competition, how can marketers effectively get their message across? What strategies are the most effective in 2019? One content type clearly leading the pack is video, and particularly live video.

In general, video on Facebook remains an underutilized content format. Despite accounting for only 14.1% of all posts, video gets the most interaction and engagement by a landslide.
And live video in particular, makes up an even smaller percentage of the total content on Facebook. As of 2017, 1 in 5 videos on Facebook was a live broadcast. Yet engagement metrics are incredibly strong for live video. One study done by Agorapulse showed astoundingly high engagement from Live Video when compared to uploaded/native video. Another study by Hubspot showed that live video got triple the amount of comments as native video, and roughly 4 times as many comments as shared links.
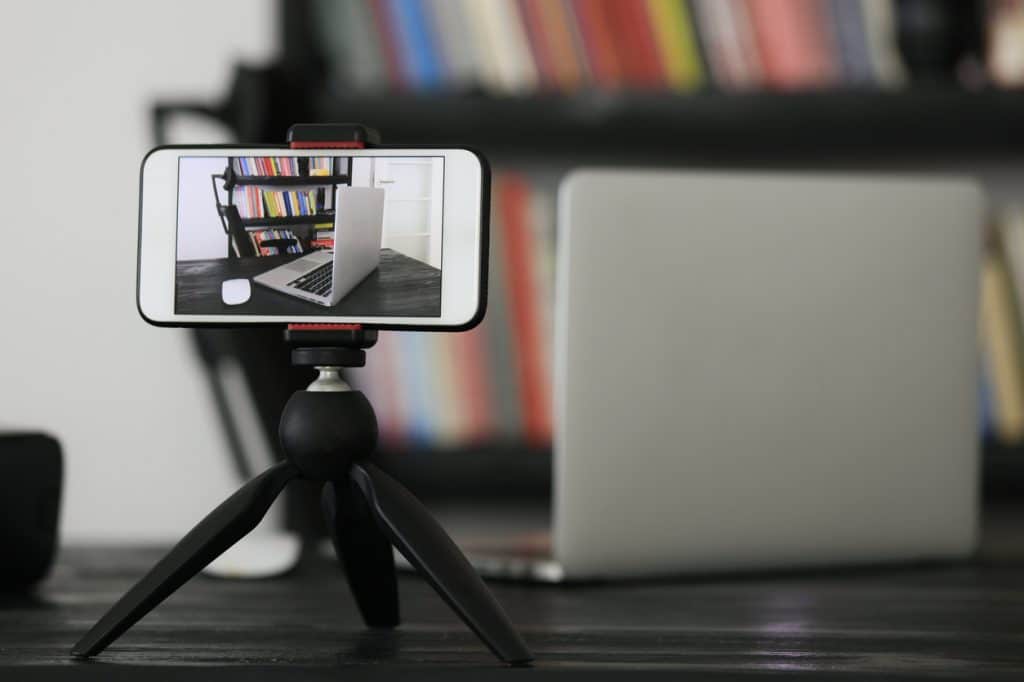
Indeed, “going live” on Facebook and Instagram is a great way to maximize your reach and visibility on these social media platforms and connect with your fans in a fun, engaging, and authentic way. More often than not, this will be done from a mobile device.
This guide provides basic instructions on how to make your first Facebook or Instagram live video from your phone!
How to “Go Live” on Facebook:
As you probably are aware, there is a very clear distinction between Facebook personal profiles and business pages. Depending on the topic of your live video and the people you want to see it, you might choose to go live from either your personal profile or your business page. (Note that you can always share the video from one to the other, after your broadcast is complete.)
If you choose to broadcast a live video from your personal profile:
Log in to the Facebook app on your phone.
Click the “What’s on your mind?” box at the top of your app screen to create a new post, and choose “Go Live”.

Choose the standard “Live Video” option in the lower left hand side of the screen. Feel free to experiment with the others as you get more comfortable with this process.
You can also change who is able to see your post (public, just friends, friends of friends, only me, etc.) via the dropdown menu in the upper left hand side of the screen. Try changing it to “Only Me” while you’re familiarizing yourself with the interface. This will ensure that no one sees your practice videos.
Down near the bottom right, you can tag people and pages, as well as add a location. If you are doing this video for your own business, tag your FB page. Be sure to write a short description of what your live video is about. Once you are ready, hit, “Start Live Video”.

Now you are live! Along the bottom hand of the screen you’ll see a few options that allow you to customize and change the appearance of your live video in real time. You can flip between the front and rear-facing camera, turn the flash on and off, and add fun filters and frames. For most general purpose videos, you may not want to use (and certainly don’t overuse) these features.
As people begin to see and interact with your video, comments will appear down towards the bottom of the screen. You can interact with them both verbally and physically.
When you are done with your live video and ready to end it, hit “FINISH”. This will terminate the live broadcast. Next you will be asked whether you want to publish the replay of your live video to your profile and/or story. More often than not, leave these all checked. Click “SAVE” to download a copy of the video to your device.

If you choose to broadcast a live video from your business page:
The process is essentially the same as the above, with a few differences. In order to begin your live video, you must first navigate to the page you wish to broadcast from via the menu from the top-right corner of the app.
Once on the correct business page, scroll down and click on the “Write something” button.
![]()
Click the little camera icon, and then finally, “Go Live”.

Just like live video from a personal page, you can tag people and pages, set a location, and make some basic adjustments to audience targeting. Note that you can’t change the audience to “only me” for live videos from pages. You can, however, set some basic age and geographic restrictions. This can both help to ensure that your video is being shown to the most relevant audience, and that it’s age-appropriate. Click “Save” to return to the previous screen.

Once you are ready, hit “Start Live Video”!
How to “Go Live” on Instagram:
Unlike Facebook, the differences between personal and business profiles on Instagram are not very distinct. The only major differences are in the analytics and paid advertising features.
The process for broadcasting a live video on Instagram is virtually identical regardless of whether you’re doing it from a personal or business profile.
At the top left hand side of the Instagram app, click the camera icon.
Choose, “LIVE” in the at the bottom scroll bar menu.
Click the settings icon at the top left-hand corner of the screen, and make any changes that you so desire (you can probably leave these all on the default settings).
You can also play around with some of the filters and overlays by clicking the bottom right hand corner “smiley face” icon. (Depending on the nature of your video, you may or may not want to utilize these, but it’s certainly worth playing around with it yourself!)

When you are ready, click “Go Live”.
General Best Practices for Live Video:
- Have a clear purpose and plan ahead. Know what you will be filming and discussing during the live video.
- Make sure you have a strong network or wifi connection prior to going live. Streaming issues degrade the quality of your video and become a huge distraction.
- Double check lighting and make sure you are near the microphone, speaking loudly and clearly.
- Know your equipment. This is an easy one if you’re just using a mobile device, but it is possible to use other camera and audio equipment.
- Tell Your Fans you are going live. You can even promote it for days or weeks prior, depending on the topic of your video.
- Once live, engage with the live viewers! Thank people by name, and answer questions & comments verbally in real-time.
- Keep in mind that people will come and go throughout the broadcast. Try to stay on-topic and make sure to reiterate the purpose every now and then.
- Be sure to save copies of your live videos to post and share on other networks.
- As time goes on, continually develop your live video goals and strategies and determine how it can best play into your overall marketing strategy.
Sample Suggestions for Using Live Video:
- Live Q&A sessions
- “Behind the scenes” insights
- Breaking news and/or big announcements
- Product/service demos
- Highlight special events
- Staff spotlights/interviews
- “A Day in the Life” feature
- About us/office tour
Does this feel overwhelming? Find out how to take your social media marketing strategy to the next level! Call MyAdvice at 435.575.7470 .